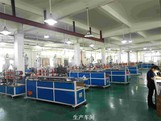
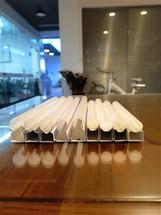
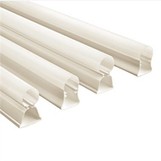
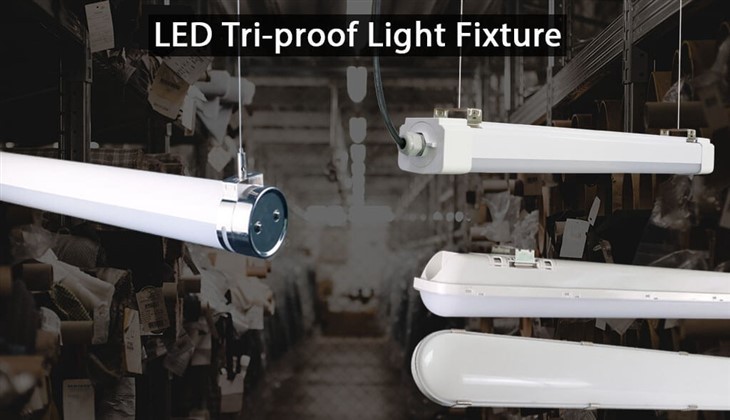
As a T5 Fixture Housing supplier, I understand the critical importance of proper installation for ensuring the optimal performance and longevity of lighting fixtures. In this blog post, I will share some essential tips and guidelines on how to ensure the proper installation of T5 Fixture Housing, drawing on my years of experience in the industry.
Pre - installation Preparation
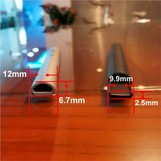
Before you start the installation process, it is crucial to conduct a thorough inspection of all the components. Check the T5 Fixture Housing for any signs of damage, such as cracks or warping. As a reliable supplier, we ensure that our products meet high - quality standards, but during transportation, there might be some unforeseen circumstances. If you find any issues, contact us immediately for a replacement.
Gather all the necessary tools for the installation, such as a screwdriver, drill, measuring tape, and level. Make sure you have the appropriate safety equipment, including gloves and safety glasses. It is also important to plan the installation location carefully. Measure the space where the T5 Fixture Housing will be installed to ensure a proper fit. Consider factors like the height from the ground, the distance from other objects, and the accessibility for future maintenance.
Mounting the T5 Fixture Housing
The first step in mounting the T5 Fixture Housing is to determine the mounting method. There are several common mounting options, including surface mounting, pendant mounting, and recessed mounting. The choice of mounting method depends on the specific requirements of the installation site and the aesthetic preferences.
Surface Mounting
Surface mounting is one of the most straightforward methods. First, mark the positions for the mounting holes on the wall or ceiling using a measuring tape and a pencil. Make sure the marks are level and evenly spaced. Drill pilot holes at the marked positions. The size of the drill bit should match the size of the screws or bolts you will use for mounting.
Next, align the T5 Fixture Housing with the pilot holes. Insert the screws or bolts through the holes in the housing and into the pilot holes in the wall or ceiling. Tighten the screws or bolts securely, but be careful not to overtighten, as this could damage the housing. You can use a level to ensure that the housing is installed perfectly horizontal or vertical.
Pendant Mounting
For pendant mounting, you will need to install a mounting bracket on the ceiling first. Follow the manufacturer's instructions for installing the bracket. Once the bracket is securely in place, attach the pendant cord or chain to the T5 Fixture Housing. The length of the cord or chain can be adjusted according to the desired height of the fixture.
Hang the T5 Fixture Housing from the mounting bracket using the pendant cord or chain. Make sure the housing is balanced and does not swing or tilt. You may need to adjust the length of the cord or chain on each side to achieve a proper balance.
Recessed Mounting
Recessed mounting provides a more flush and modern look. First, cut a hole in the ceiling or wall to the appropriate size for the T5 Fixture Housing. The hole should be slightly larger than the housing to allow for easy installation.
Insert the housing into the hole. Use mounting clips or brackets to secure the housing in place. Make sure the housing is level and flush with the surrounding surface. You may need to use a shim to adjust the position if necessary.
Connecting the Electrical Components
After mounting the T5 Fixture Housing, the next step is to connect the electrical components. This is a critical step that requires careful attention to safety. Before starting any electrical work, make sure the power supply is turned off at the circuit breaker.
Wiring the Ballast
The ballast is an essential component of the T5 lighting system. It regulates the electrical current to the lamps. Follow the wiring diagram provided by the ballast manufacturer. Usually, you will need to connect the incoming power wires to the ballast's input terminals and the lamp wires to the ballast's output terminals.
Use wire connectors to secure the connections. Make sure the connections are tight and there are no loose wires. Inspect the wiring for any signs of damage or fraying. If you are not experienced in electrical wiring, it is recommended to hire a qualified electrician to perform this task.
Installing the Lamps
Once the ballast is wired correctly, it's time to install the T5 lamps. Carefully insert the lamps into the lamp sockets in the T5 Fixture Housing. Make sure the lamps are properly seated and aligned. Do not force the lamps into the sockets, as this could damage the lamps or the sockets.
Testing the Installation
After completing the installation and wiring, it's time to test the T5 Fixture Housing. Turn on the power supply at the circuit breaker. If the lamps do not light up immediately, check the wiring connections again to make sure they are secure. You may also need to check the ballast to ensure it is functioning properly.
If the lamps flicker or there are other issues, it could be a sign of a wiring problem, a faulty ballast, or a defective lamp. Troubleshoot the problem step - by - step. You can refer to the product manual or contact our technical support team for assistance.
Maintenance and Future Considerations
Proper installation is just the beginning. Regular maintenance is essential to ensure the long - term performance of the T5 Fixture Housing. Clean the housing and the lamps regularly to remove dust and dirt. Check the wiring connections periodically to make sure they are still secure.
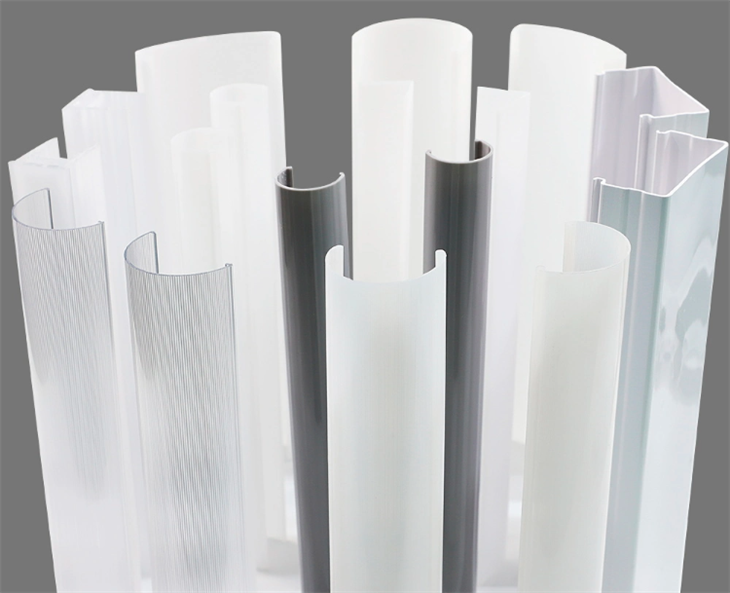
If you need to replace a lamp or perform any other maintenance tasks, make sure to turn off the power supply first. You can find high - quality Extrusion Plastic Cover, LED Tube Light Parts, and Plastic Profiles from our product range for any replacement needs.
In conclusion, ensuring the proper installation of T5 Fixture Housing involves careful planning, correct mounting, safe electrical wiring, and thorough testing. By following these guidelines, you can ensure that your T5 lighting system operates efficiently and safely for years to come.
If you are interested in purchasing T5 Fixture Housing or have any questions about installation, feel free to contact us. We are here to provide you with high - quality products and professional technical support. Our team of experts can assist you in choosing the right products for your specific needs and guide you through the installation process.
References
- General lighting installation guides from industry standards.
- Product manuals of T5 Fixture Housing and related electrical components.